Diy Couch Cleaning: Safe, Quick Guide to Fresh Upholstery
Before you even think about grabbing a sponge or cleaner, let’s talk prep. Diving straight into a DIY couch cleaning project without a little groundwork is a recipe for faded colors, water spots, or worse—damaged fabric.
The secret to getting it right is all in the preparation. It starts with two simple but crucial things: decoding your couch’s cleaning tag and giving it a really thorough vacuum. Nail these, and you’re setting yourself up for a safe and effective clean.
Start with Your Couch’s Cleaning Code

Before a single drop of anything touches your sofa, you need to do a little detective work. Tucked away somewhere on your couch—usually under a cushion or on the frame—is a small tag. This is your instruction manual, and ignoring it is the fastest way to ruin your furniture.
These tags use a simple letter code to tell you exactly how to clean the fabric safely. Think of it as your couch’s own language. Learning what these letters mean is the most important part of the entire process.
Decode Your Couch’s Fabric Tag
So, what do those letters actually mean? They’re your guide to choosing the right cleaning method. Here’s a quick reference to help you figure it out.
Understanding Your Couch’s Cleaning Codes
| Code | What It Means | Safe Cleaning Method |
|---|---|---|
| W | Water-Based Cleaner | You can safely use water and water-based cleaning solutions. This is the most common and easiest type of fabric to clean yourself. |
| S | Solvent-Based Cleaner | This fabric requires a water-free, solvent-based cleaner. Using water on an ‘S’ code will likely leave behind a nasty stain. |
| W/S | Water or Solvent | You’ve got options here. Both water-based and solvent-based cleaners are generally safe, but you should always spot-test first. |
| X | Vacuum Only | This is the most restrictive code. Do not use any type of liquid cleaner—water or solvent. It’s vacuum-only for a reason. |
Finding and following this code is your single most important step. It’s the difference between a successful refresh and a cleaning disaster.
The Power of a Thorough Vacuum
Once you know your cleaning code, it’s time to grab the vacuum. And we don’t mean a quick pass over the cushions. This is about a deep, thorough extraction of all the loose stuff. Your goal is to suck up every last bit of dirt, dust, pet hair, and those cracker crumbs that vanished weeks ago.
Use the crevice tool to get deep into the seams and corners where debris loves to hide. Switch to the upholstery attachment for the main surfaces.
A good vacuuming session does two things: it makes the couch look better instantly, and it prevents you from turning dry dirt into muddy streaks when you start applying liquid cleaners. You’re creating a clean canvas for the real work. This DIY cleaning trend is getting more popular; the global upholstery cleaner market is even projected to hit $2.0 billion by 2033.
This initial prep work is just as vital for specialty furniture. If you have one of those versatile fabric convertible sofa beds, understanding its material is the key to keeping it looking great for years.
Create Your Own Safe and Effective Cleaners

Once you’ve cracked your couch’s cleaning code, you can confidently skip the expensive, specialized cleaners at the store. The best solutions for your DIY cleaning project are probably already in your pantry, ready to tackle grime without any harsh chemicals.
This isn’t just a niche trend; it’s a real shift in home care. The upholstery cleaner market has swelled to USD 1.3 billion, largely because people are seeking out gentler, multi-purpose ingredients for handling everyday stains and odors themselves. It’s all about finding healthier, more affordable ways to keep a home fresh and clean.
Cleaners for Water-Safe Fabrics (Code W)
If you’ve got a ‘W’ or ‘W/S’ tag, your new best friend is distilled white vinegar. Its natural acidity is fantastic for cutting through common household dirt and neutralizing odors without being harsh on water-safe fibers.
For a great all-purpose cleaner, just mix this up in a spray bottle:
- 1 cup of warm water
- 1/2 cup of white vinegar
- 1/2 tablespoon of mild dish soap (like Dawn)
Give the bottle a gentle shake to combine everything. The dish soap is key here—it acts as a surfactant, helping to lift grease and dirt from the fabric so the vinegar and water can do their job and wash it away.
Solutions for Solvent-Only Fabrics (Code S)
For any couch labeled ‘S’, water is your enemy. It’s guaranteed to leave behind water rings and could even cause permanent damage. Your weapon of choice here is a simple solvent: rubbing alcohol (isopropyl alcohol).
Alcohol works because it evaporates almost instantly, taking oil-based stains like ink or grease with it without leaving any moisture behind. The trick is to apply a small amount to a clean, white cloth and blot the stain. Never pour it directly onto the upholstery.
Crucial Safety Tip: Always, always do a spot test before you start. Whether it’s a homemade solution or store-bought, find a hidden spot—like the underside of a cushion or a seam on the back—and apply a tiny amount. Let it dry completely and check for any color change or damage before you clean the visible areas.
The Spot Test Is Not Optional
We’ve seen it happen too many times: someone gets excited to clean and skips the spot test. It’s the single biggest mistake you can make. A quick five-minute test can save you from an expensive, irreversible accident. This rule applies to any piece of furniture you care about, from a massive sectional to your simple futon covers. Once your solution passes the test, you can move forward with confidence.
Mastering Specific Stain Removal Techniques
Life happens. A glass of wine gets knocked over during movie night, or a greasy slice of pizza goes rogue. It doesn’t have to spell doom for your favorite piece of furniture. The secret is to act fast and attack the stain with the right strategy.
Before you do anything else, remember the golden rule of spills: blot, never rub. Rubbing just grinds the mess deeper into the fabric fibers, making it a nightmare to remove and potentially damaging the material. Grab a clean, dry cloth and gently press down to soak up as much as you can before you start treating the spot.
Tackling Greasy Food Stains
Grease stains from butter, pizza, or oily dressings look intimidating, but they’re surprisingly easy to handle if you have one simple thing: baking soda. This pantry staple is a pro at absorbing oil.
Just sprinkle a generous amount of baking soda directly onto the greasy spot. You need to give it time to work its magic, so let it sit for at least 15-20 minutes while it pulls the oil out of the upholstery.
You’ll see the baking soda start to clump up as it soaks up the grease. Once it’s done its job, vacuum it all up with an upholstery attachment. If a faint mark is left behind, you can gently dab the area with a cloth lightly dampened with your spot-tested cleaning solution.
Handling Red Wine Spills
Ah, the dreaded red wine spill—a classic couch emergency. Quick action here is everything. For one of the toughest spills, moving fast is your best bet for success.
If you catch it the moment it happens, here’s what to do:
- Blot immediately. Use a clean, dry cloth to soak up as much of the wine as possible.
- Cover it with salt or baking soda. Don’t be shy here; pour it on generously. You’ll see it start to absorb the wine, often turning pink in the process.
- Vacuum the residue. Once the salt or baking soda looks dry, vacuum it up completely.
- Treat what’s left. If a light stain remains, gently dab it with a cloth dipped in a little cool water mixed with a single drop of dish soap. Blot with a clean, dry towel to finish.
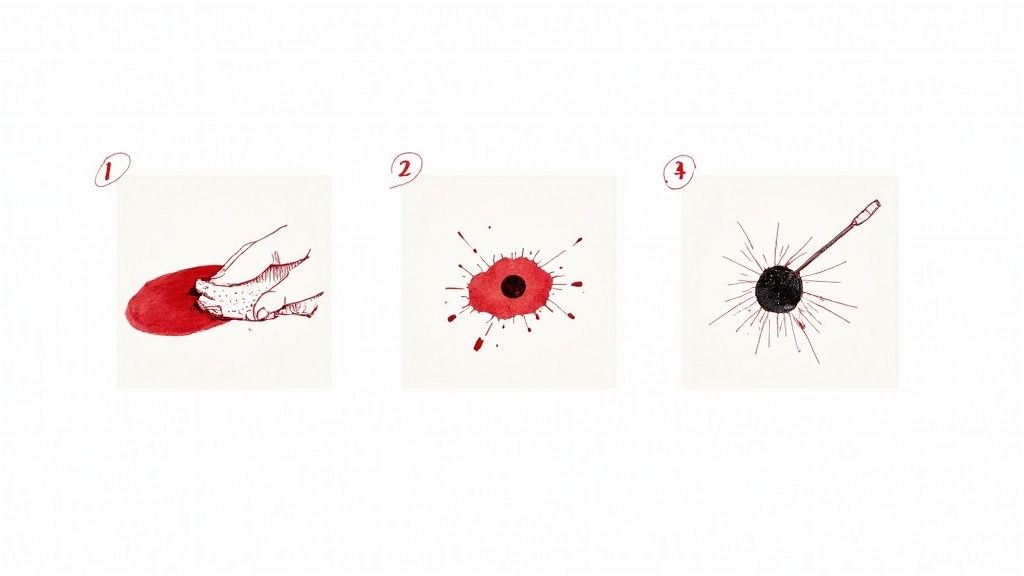
Removing Ink and Blood Stains
Ink and blood need a different game plan. For those accidental ballpoint pen marks on a couch with an ‘S’ code fabric, rubbing alcohol is your go-to. Just apply a small amount to a cotton ball and carefully dab the ink spot, making sure not to spread it. The alcohol will dissolve the ink, allowing you to lift it by blotting with a clean cloth.
For blood stains, time is of the essence.
Key Insight: Always use cold water for blood stains. Hot water will actually cook the protein in the blood, setting the stain permanently into the fabric.
Start by dabbing the spot with a cloth soaked in cold water. If the stain is stubborn, a few drops of hydrogen peroxide can help lift it. But be warned—hydrogen peroxide can have a bleaching effect, so you absolutely must test it on a hidden area of the couch first.
Dealing with different spills can feel like a pop quiz, but a little know-how goes a long way. Having a quick guide handy makes it much easier to grab the right tool for the job without panicking.
Common Couch Stain Treatment Guide
| Stain Type | Primary Cleaning Agent | Step-by-Step Method |
|---|---|---|
| Coffee or Tea | Vinegar & Dish Soap | Blot stain. Mix equal parts white vinegar and water with a drop of dish soap. Dab onto the stain, let sit for 10 minutes, then blot dry. |
| Grease or Oil | Baking Soda | Cover the stain with baking soda. Let sit for 20 minutes to absorb oil. Vacuum up the powder. Dab any remainder with a mild soap solution. |
| Red Wine | Salt or Baking Soda | Blot immediately. Cover generously with salt or baking soda to absorb the wine. Vacuum it up. Treat any remaining stain with cool water and soap. |
| Ink (Ballpoint) | Rubbing Alcohol | Dab a small amount of rubbing alcohol onto a cotton ball. Gently press it onto the ink stain without rubbing. Blot with a clean, dry cloth to lift the ink. |
| Blood | Cold Water & Hydrogen Peroxide | Blot fresh stain with a cloth soaked in cold water. For dried stains, dab with hydrogen peroxide (test first!), then blot with a cold, damp cloth. |
| Mud | Wait, then Vacuum | Let the mud dry completely. Scrape off any large clumps, then vacuum the remaining dirt. Treat any leftover stain with a mild soap and water solution. |
This chart is your first line of defense against the most common household spills. Always remember to blot first and test any cleaning solution on an inconspicuous spot before tackling the main event.
Deep Cleaning Methods for a Full Refresh
When a few dabs and blots just won’t cut it against the daily grind of life, it’s time to bring out the big guns for a full deep clean. This isn’t just about looks. Some studies show that couches can be hotspots for microbes, collecting everything from dust and allergens to bacteria. A standard fabric couch can actually hold thousands of dust particles per square centimeter, which definitely doesn’t help your indoor air quality. It’s no wonder the professional sofa cleaning market is now valued at over $2.5 billion in North America alone.
The good news? You can get those same professional-level results yourself. The trick is simply matching the right cleaning method to your couch’s fabric type and overall condition.
Gentle Hand Cleaning for Delicate Fabrics
If you’re working with a couch that has an “S” or “X” cleaning code—or you’re dealing with sensitive materials like silk or velvet—a careful hand-cleaning method is your safest option. This approach gives you total control and helps you avoid oversaturating the fabric, which can lead to ugly watermarks or permanent damage.
Grab your pre-tested, fabric-safe cleaner. For an ‘S’ code, that’ll be a solvent; for ‘W’ codes, a mild, water-based solution will do. Dab a small amount onto a clean, white microfiber cloth, never directly on the upholstery itself. Work in small, easy-to-manage sections, gently blotting and wiping. The goal here is to lift the grime out, not scrub it deeper in.
Using an Upholstery Shampooer for a Machine-Powered Clean
Got a couch with a “W” or “W/S” code that’s seen better days? An upholstery shampooer, which is often an attachment on a carpet cleaner, can be an absolute lifesaver. These machines are designed to spray a cleaning solution deep into the fabric and then immediately suck the dirty liquid right back out.
The most common mistake people make is going too heavy on the water. To get it right:
- Move the machine in slow, steady, overlapping strokes.
- After the first pass, go over each section again using only the suction function to pull out as much moisture as possible.
- Keep the machine moving. Never let it sit in one spot while it’s running.
This technique is fantastic for getting a consistent, deep clean across all your sofas, especially those that get a lot of daily traffic.
Steam Cleaning to Sanitize and Lift Dirt
Steam cleaning is another top-notch choice for water-safe fabrics (those with “W” or “W/S” codes). The high heat works wonders, dissolving dirt and killing off bacteria, dust mites, and other allergens without needing a single chemical. This makes it an ideal method for homes with allergy sufferers, pets, or small children.
Pro Tip: Always use distilled water in your steam cleaner. This prevents mineral deposits from your tap water from leaving a chalky residue on your upholstery. Hold the nozzle a few inches away from the fabric and keep it moving at a steady pace to avoid soaking any one area. The fabric should feel just slightly damp when you’re done, not sopping wet.
Drying and Deodorizing Your Couch Like a Pro
You’ve done all the hard work scrubbing and stain-treating, but don’t put your feet up just yet. These final steps are what lock in that fresh, clean feeling, and skipping them is a rookie mistake. A damp couch can quickly turn musty, grow mildew, or develop water stains—undoing everything you just accomplished.
Your primary enemy now is lingering moisture. Damp upholstery is a breeding ground for mildew, which is the source of that unpleasant sour smell. The goal is to get your couch bone-dry as efficiently as possible, but without using direct heat like a hairdryer, which can shrink or damage the fabric.
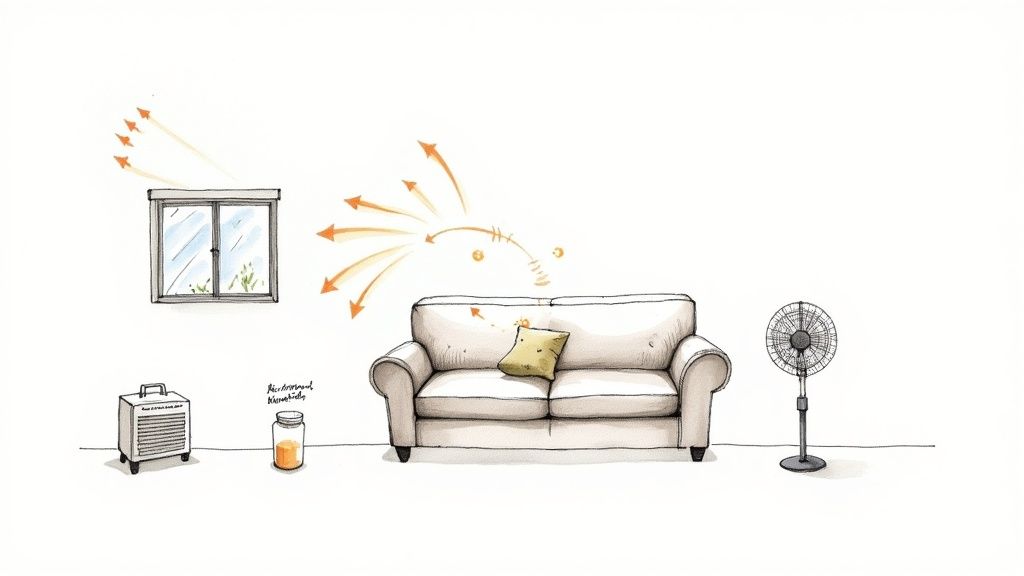
Speeding Up the Drying Process Safely
The secret to effective drying is simple: air circulation. You need to get air moving across every surface of the sofa to help moisture evaporate evenly and quickly.
First, open up some windows on opposite sides of the room to create a natural cross-breeze. Then, bring in a little mechanical help to really get things moving.
- Set up fans: Position one or two box fans or oscillating fans to blow air across the surface of the couch, not directly at one spot. You’re aiming for gentle, consistent airflow over the entire piece.
- Use a dehumidifier: If you live in a humid climate, a dehumidifier is your best friend here. Place it near the couch, and it will pull moisture straight out of the air, dramatically speeding up the drying time.
Important Takeaway: Patience is key. Depending on the humidity and how much water you used, a couch can take anywhere from 6 to 12 hours to dry completely. Don’t even think about sitting on it or putting cushions back until you’re positive it’s dry to the touch.
Banishing Lingering Odors Naturally
Even after a deep clean, some stubborn smells from pets, smoke, or old spills might cling to the fibers. Before you reach for a chemical spray, your pantry holds a simple, incredibly effective solution.
Baking soda is a natural absorbent that works wonders at neutralizing odors without just masking them with a fragrance. Once your couch is 100% dry, sprinkle a generous, even layer of baking soda over all the fabric surfaces. Let it sit for at least a few hours—or even overnight for really tough smells—to give it time to work its magic.
After it’s done its job, grab your vacuum’s upholstery attachment and thoroughly suck up every last grain. You’ll be left with a couch that doesn’t just look clean but smells genuinely fresh.
To complete the revival, adding a few new decorative throw pillows can be the perfect final touch, elevating the whole look and feel of your refreshed space.
Your DIY Couch Cleaning Questions Answered
Even with a solid plan, cleaning a couch for the first time can bring up a few questions. It’s totally normal. Getting the details right for your specific sofa makes all the difference, so let’s tackle some of the most common queries that come up.
A big one is always about timing. How often should you really be deep cleaning your couch? For most homes, a thorough cleaning once or twice a year is plenty to keep dust and light grime from building up.
But life isn’t always standard, is it? If you’ve got furry friends, toddlers with sticky fingers, or family members sensitive to allergens, you’ll want to step up your game. In those households, aiming for a deep clean every 3 to 6 months is a much better goal to keep your sofa fresh and comfortable.
Can I Use a Carpet Cleaner on My Couch?
Yes, you often can—but you have to be careful. Many carpet cleaning machines include an upholstery attachment specifically for this job. Before you even plug it in, though, find your couch’s cleaning code. This method is only safe for fabrics labeled ‘W’ or ‘W/S’. Anything else, and you risk serious damage.
Also, make sure you’re using a cleaning solution made for upholstery. The stuff you put in your machine for carpets is usually way too harsh for sofa fabric and can lead to discoloration or weakening of the fibers.
Crucial Tip: The single biggest mistake people make with these machines is getting the fabric too wet. To avoid this, move the attachment in slow, steady strokes. Then, do a second pass using only the suction to pull out every last drop of moisture. This is the key to preventing mildew and those dreaded water stains from setting in deep inside the cushions.
How Do I Handle Pet Hair and Odors?
Pets are family, but they definitely leave their mark. Getting rid of pet hair and odors takes a two-pronged approach.
First, the hair. Start with a good vacuum and a pet hair attachment. If you still see stubborn fur woven into the fabric, here’s a great trick: put on a pair of rubber dishwashing gloves, dampen them slightly, and just wipe your hands across the sofa. The friction balls the hair right up, making it easy to grab.
Now, for the smells. Your secret weapon here is plain old baking soda. Once your couch is completely dry from any cleaning, sprinkle a generous layer over every surface. Let it sit for a few hours—or even overnight if you’re dealing with a really strong smell—to absorb the odors. Then, vacuum it all up.
If you’re dealing with something more serious, like pet urine, you need to bring out the big guns. Blot the spot immediately to soak up as much as you can. Next, you’ll need an enzymatic cleaner. These cleaners are designed to break down the organic proteins in urine, which is what causes the smell in the first place. It doesn’t just mask the odor; it eliminates it, which is also essential for stopping your pet from marking the same spot again.
At Futonland, we know that a happy home is built on furniture that’s as versatile as it is easy to care for. Find the perfect fit for your lifestyle by exploring our collection of durable and stylish sofa beds at https://futonland.com.